Taming the Spaghetti Monster: The AV Professional’s Guide to Flawless Cable Management
We have all been there. You roll up to a gig, pop the lid off a road case, and are instantly greeted by a dense, tangled nest of black cords. It is the dreaded "spaghetti monster," and it is the bane of every audio-visual professional's existence.
In the AV industry, cable management is not just an aesthetic choice; it’s a critical component of safety, signal integrity, and operational efficiency. A messy stage looks amateurish to clients, creates massive trip hazards for talent and crew, and turns a ten-minute troubleshooting task into an hour-long nightmare. Whether you are running a massive corporate keynote or a booming live concert, mastering your cables is what separates the novices from the seasoned pros.
Here is a comprehensive guide to keeping your cable runs clean, safe, and efficient from the warehouse to the stage.
1. Pre-Production: The Foundation of Clean Cables
Great cable management starts long before you load the truck. The way your inventory is prepped determines how smoothly your setup will go.
- Standardize Your Lengths: Sort your cables into standardized lengths (e.g., 10ft, 25ft, 50ft, 100ft) and stick to them. Using a 50-foot XLR for a 10-foot run creates unnecessary slack that you will eventually have to hide or coil up, wasting time and space.
- Color Coding and Labeling: Implement a robust labeling system. Use colored electrical tape or heat-shrink tubing near the connectors to denote length (e.g., red for 25ft, blue for 50ft). Furthermore, label both ends of every long cable run during a show. If a projector suddenly drops its signal, you need to know exactly which SDI or etherCON cable to swap without tracing it through a dark, crowded room.
- Looming: For runs that always go together—like power and audio to a powered speaker, or a bundle of networking cables to video village—pre-loom them using friction tape, techflex braided sleeving, or hook-and-loop ties. A single, thick loom is much easier to run and tape down than four independent cords.
2. On-Site Execution: The Art of the Run
When it’s time to lay out the gear, discipline is key. You want lines that are straight, flat, and invisible to the audience.
Separate Power and Signal
This is the golden rule of AV wiring. Running your heavy 12-gauge power cables parallel and flush against your unbalanced audio or video lines is a recipe for disaster. It can introduce inductive interference, resulting in a nasty 60Hz hum in your speakers or rolling bars on your screens.
Pro Tip: Always try to run power down one side of the room or truss, and signal down the other. If power and signal absolutely must cross paths, ensure they cross at a sharp 90-degree angle to minimize electromagnetic interference.
Hug the Perimeter
Whenever possible, route your cables along the perimeter of the room, hugging the baseboards. This keeps them out of high-traffic areas. When dropping cables from truss or lighting trees, secure them cleanly to the vertical poles using hook-and-loop ties so they drop straight down without bowing.
Gaffer Tape Etiquette
Gaffer tape is an AV tech's best friend, but it must be used correctly.
- Never use duct tape. It leaves a sticky, permanent residue.
- When taping down across doorways or aisles, lay the cables perfectly flat side-by-side (never stacked).
- Use wide gaffer tape (3-inch or 4-inch) to cover the entire run securely.
- For high-traffic areas, skip the tape and use heavy-duty rubber cable ramps (yellow jackets) to prevent crush damage and trip hazards.
3. Essential Tools of the Trade
Ditch the amateur gear, and stock your workbox with the tools designed for the job:
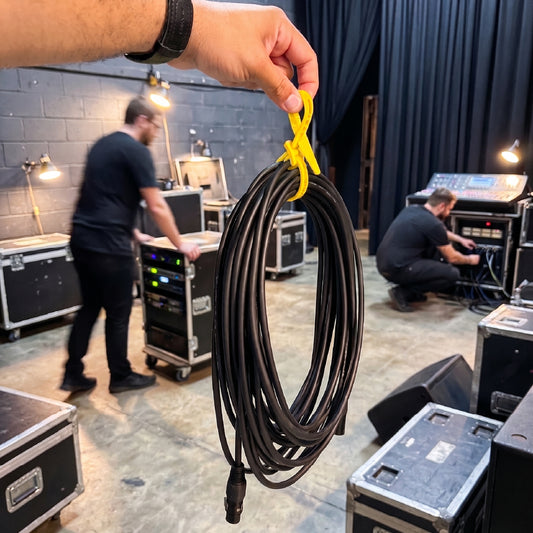
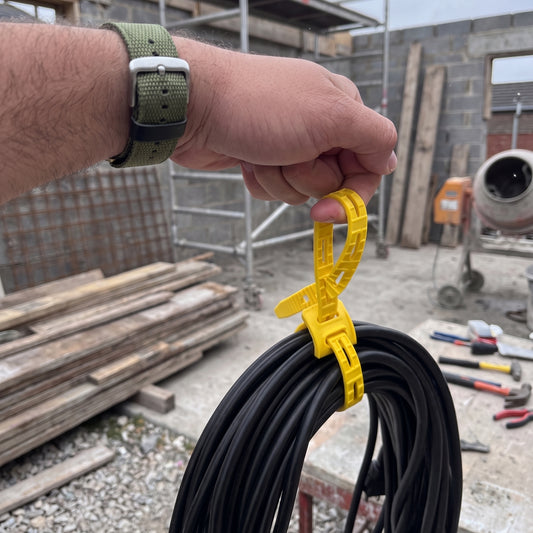
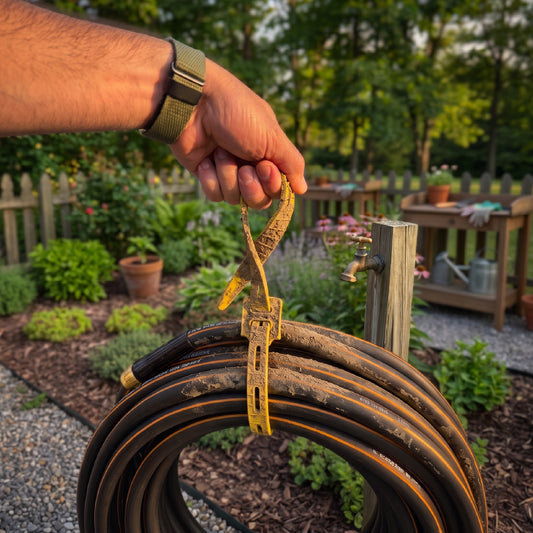
- Cord-Tie: Zip ties are the enemy of temporary AV setups. They have to be cut off, which risks severing the cable jacket. Plus, they leave sharp plastic edges that will slice open your hands during load-out. Hook-and-loop straps (like Velcro) are OK until they come into contact with dirt, dust, or fuzz. The hook-and-loop fibers get clogged up and won’t stick together anymore. And, of course, hook-and-loop wears out quickly under repeat use. Tie-line has to be cut off and it can damage cables when cinched up too tight. Cord-Tie is a durable, reusable, and versatile tool to bundle, hang, and attach cables and cords. It holds up to dirt, dust, fuzz, weather, sun, and heat. Grab a big pack.
- Friction Tape: Unlike electrical tape, which gets gooey under the hot stage lights, friction tape is cloth-based, leaves minimal residue, and is perfect for temporarily looming cables together.
- Board Tape / Console Tape: Keep white color artist tape or console tape handy for labeling drops and inputs on the fly.
4. The Teardown: Respect the "Over/Under"
The way you strike a show dictates how the next setup will go. There is exactly one correct way to coil an AV cable, and it is the over/under method.
Wrapping a cable around your hand and elbow twists the internal copper strands. Over time, this breaks the wires, ruins the shielding, and causes the cable to permanently adopt a corkscrew shape that will never lay flat on a stage again.
The over/under technique alternates the direction of the coil, effectively canceling out the twist. When properly over/under coiled, a cable can be thrown across a stage and will unroll perfectly straight, without a single knot. If you are hiring hands, make sure they know this technique before they touch a single XLR.
Final Thoughts
Cable management might not be the most glamorous part of live event production. It lacks the flash of operating a massive lighting rig or mixing a live band. However, it is the silent backbone of a successful show. By treating your cables with respect, planning your runs logically, and keeping your stages clean, you protect your gear, ensure pristine signal quality, and solidify your reputation as a true AV professional.