Maximizing Mowing Margins: The Ultimate Guide to Landscaping Trailer Organization
For a landscaping professional, your trailer is more than just a way to get from Point A to Point B—it’s a mobile headquarter. On a scorching Tuesday in July, the last thing you need is to spend twenty minutes digging through a pile of loose hand tools or untangling trimmer line while your schedule slips behind.
In the green industry, time is literally money. Efficiency in the field begins at the hitch. A disorganized trailer leads to equipment damage, increased risk of theft, and projects an amateur image to high-end clients. By investing in a strategic organization system, you can shave hours off your work week and extend the life of your expensive gear.
Here is how to transform your trailer into a high-performance workspace.
1. Prioritize Trailer Weight Distribution and Safety
Before you start mounting racks, you must consider the physics of towing. Proper weight distribution is essential for the safety of your crew and the longevity of your truck’s transmission.
- The Heavy Zone: Place your heaviest equipment—zero-turn mowers, stand-ons, or heavy aerators—directly over or slightly in front of the trailer axles. This prevents the "fishtailing" effect caused by too much weight at the rear.
- Tongue Weight: Aim for 10% to 15% of your total trailer weight to rest on the hitch. Too much weight in the back lifts the rear tires of your truck, reducing traction and braking power.
2. Master Vertical Space with Enclosed Trailer Racks
Floor space is premium real estate. Every piece of equipment sitting on the floor is an obstacle you have to step over. The secret to a professional setup is vertical storage.
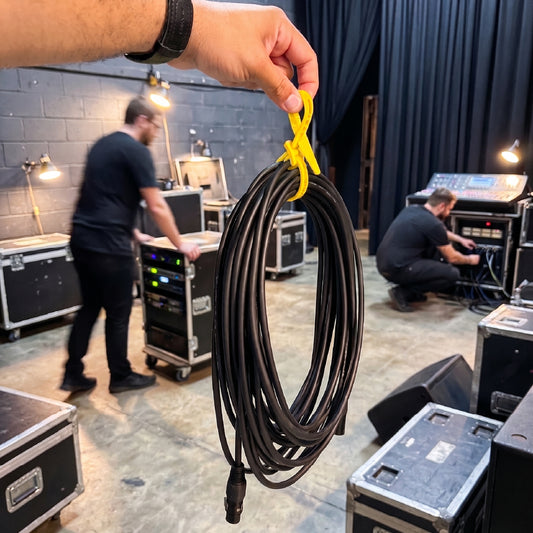
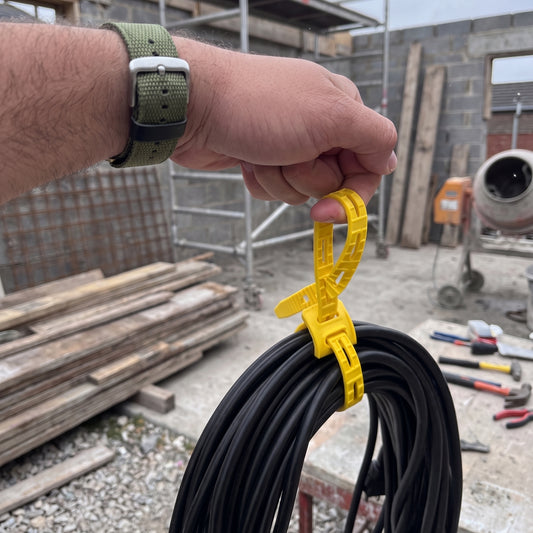
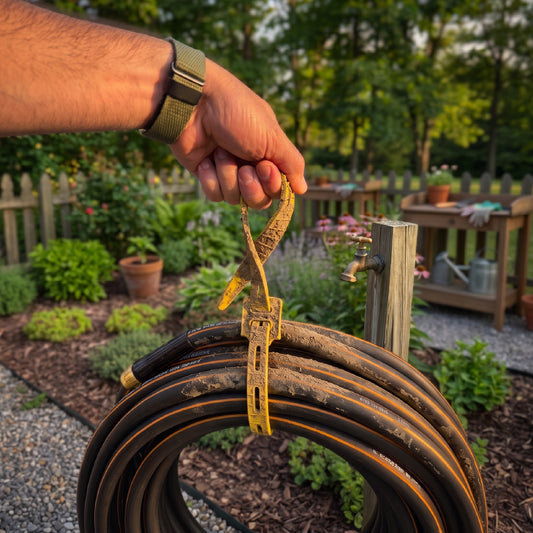
Cord-Tie
Use Cord-Tie to bundle and hang cords and hoses. Cord-Tie is a durable, reusable, and versatile way to manage cables, cords, hoses, and gear. Cord-Tie holds up to dirt, mud, weather, and debris unlike flimsy hook-and-loop straps. It’s reusable unlike zip ties. Cord-Tie doesn’t leave a residue like tape.
String Trimmer Racks
Don't lean your trimmers against the wall. Invest in heavy-duty, locking racks. These keep the shafts straight, prevent engine flooding, and—most importantly—keep them from bouncing around during transit.
Backpack Blower Hangers
Backpack blowers are bulky and prone to sliding. Use dedicated hooks that secure the blower at shoulder height. This makes it easy to "grab and go" the second you park at a property.
Hand Tool Towers
For shovels, rakes, and brooms, use a vertical tool tower or a simple PVC pipe rack system along the interior walls. Organizing these by height and frequency of use ensures you aren't wrestling with a rake handle while trying to grab a spade.
3. Create a Dedicated "Small Parts" Station
Small parts are the easiest to lose and the most expensive to replace when you consider the downtime they cause. Use a wall-mounted bin system or a sturdy drawer unit for:
- Trimmer Line: Mount a spinning spool rack so you can pull line without the spool rolling across the floor.
- Spare Blades: Keep a dedicated "sharp" and "dull" bin for mower blades so you’re never caught with a blunt edge.
- Hardware and PPE: Dedicate bins for spark plugs, air filters, safety glasses, and ear protection.
4. Manage Fuel and Chemicals Safely
Spilled fuel or leaked herbicides can ruin a trailer floor and create a hazardous environment.
- Fuel Can Racks: Use steel racks that bolt to the floor or wall to keep gas cans upright.
- Chemical Storage: If you spray, keep your chemicals in a secondary containment bin. This ensures that even if a bottle leaks, it won't contaminate your entire trailer or your other tools.
- Safety First: Always mount a fire extinguisher and a first-aid kit near the exit door.
5. Optimize for "First In, Last Out" Workflow
Think about the order of operations at a standard property. You usually start with the mowers, followed by trimming and edging, and finish with the blowers.
- The Reach Zone: Place high-frequency items near the rear gate or side door. You shouldn't have to move a mower to get to your trimmer line or your water cooler.
- Accessibility: If you service properties that require a specialized walk-behind mower only 20% of the time, tuck that mower further back, keeping your primary machines in the "easy-out" position.
6. Lighting and Power Upgrades
Landscaping days often start before sunrise. Relying on a flashlight to find a wrench is a recipe for frustration.
- LED Lighting: Install LED strip lighting along the ceiling. They draw minimal power and illuminate every corner of the trailer.
- Charging Station: If you use battery-powered handheld tools, create a dedicated charging station with a power strip. You can run this off the trailer battery or a standalone power bank to ensure your batteries top off between jobs.
Final Thoughts: The ROI of Organization
An organized landscaping trailer is an investment that pays dividends every single day. Beyond the time saved, it serves as a rolling billboard. When a neighbor sees a clean, organized trailer parked on their street, they see a company that pays attention to detail.
Take a weekend to strip your trailer down to the floorboards and rebuild it with these principles in mind. Your back, your crew, and your bottom line will thank you.