From Craziness to Craftsmanship: The Ultimate Guide to Organizing Your Workshop
Whether you are a professional woodworker, a weekend tinkerer, or a DIY enthusiast, your workshop is your sanctuary. However, it doesn't take long for that sanctuary to turn into a stressful maze of sawdust, tangled cords, and "missing" 10mm sockets.
A cluttered workshop isn't just an eyesore; it’s a productivity killer and a safety hazard. Organizing your space is about more than just cleaning—it’s about creating a workflow that allows you to move from idea to finished product with minimal friction. Here is how to reclaim your space and build the ultimate organized workshop.
1. The "Clean Slate" Phase
You cannot organize a mess; you can only organize a space. The first step is the hardest: purge. Empty your drawers and clear your workbenches. Group every tool by category—hand tools, power tools, fasteners, and finishing supplies. As you go, be ruthless. If a tool is broken beyond repair or hasn't been touched in three years, it’s taking up valuable real estate. Dispose of it, donate it, or sell it. Once the floor is clear, give it a deep clean. A clean floor is the foundation of a professional mindset.
2. Zone Your Space for Workflow
Think of your workshop like a professional kitchen. Everything should be arranged based on the "work triangle." Divide your shop into functional zones:
- The Bench Zone: This is your primary assembly area. It should be the most accessible part of the shop, with high-frequency hand tools kept within arm's reach.
- The Machine Zone: Keep your heavy hitters—table saws, miter saws, and drill presses—grouped together.
- The Dirty Zone: Dedicate a corner for sanding and grinding. This should be the area closest to your dust collection or a window for ventilation.
- The Finishing Zone: Keep paints, stains, and glues in a separate, clean area away from the sawdust produced in the Machine Zone.
3. Embrace Verticality: The French Cleat and Pegboard
Floor space is for feet and heavy machinery. Everything else belongs on the walls.
The classic Pegboard is a staple for a reason—it’s cheap and adaptable. However, many modern craftsmen are moving toward the French Cleat System. This involves mounting beveled strips of wood to the wall. You then build custom holders for your drills, hammers, and saws that "hook" onto these strips.
Vertical storage allows you to see every tool at a glance. If a tool is hidden in a deep drawer, you won't use it. If it’s on the wall, it’s part of your creative arsenal.
4. Manage the Small Stuff: Fasteners and Hardware
Nothing halts a project faster than hunting for a specific screw. Stop keeping hardware in the cardboard boxes they came in; they rip, spill, and look messy.
Invest in a uniform bin system. Clear plastic bins are excellent because they allow you to see the contents, but labeling is even better. Group your fasteners by type (wood screws, machine bolts, nails) and then by size. Wall-mounted tilt-bins or a dedicated "hardware tower" can save you hours of searching over the course of a year.
5. Dust Collection and Cord & Hose Management
A shop that stays clean is a shop that gets used. If you have to spend 30 minutes cleaning up sawdust every time you make a single cut, you’ll stop going into the workshop.
- Dust Collection: Even a high-quality shop vacuum with a cyclone separator can capture 90% of fine dust before it hits the air. Connect your most-used tools to a central vacuum line if possible.
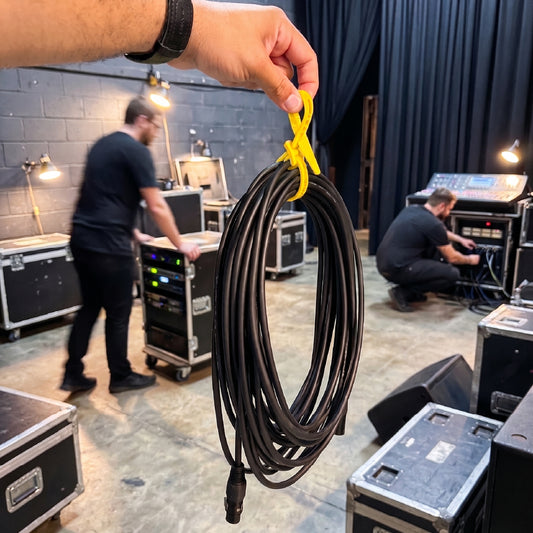
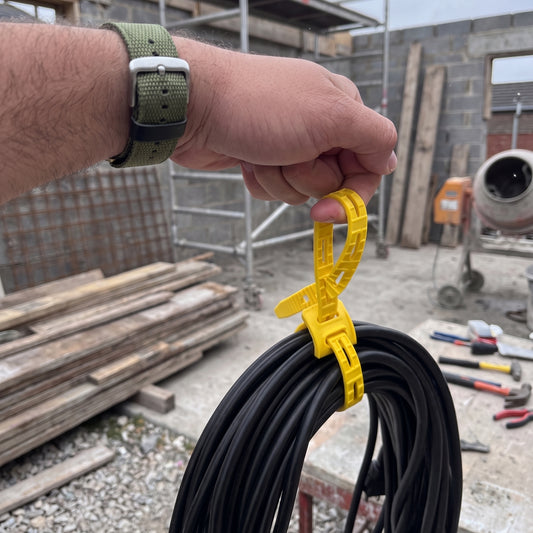
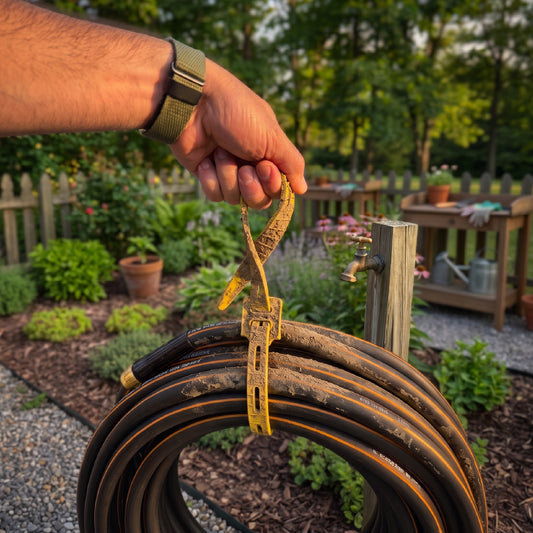
- Cords: Tripping over extension cords is a major safety risk. Use ceiling-mounted retractable cord reels to bring power exactly where you need it without cluttering the floor. For all other cables, cords, and hoses, use durable, dirt-resistant Cord-Tie. More below.
- Hoses: Use Cord-Tie to bundle hoses as well as cables and cords. It’s reusable, durable, and versatile. Unlike hook-and-loop straps, Cord-Tie holds up to sawdust, debris, and fuzz. It’s reusable unlike zip ties. And it doesn’t leave a residue like tape can.
6. Lighting: The Most Underrated Tool
You can't do precision work in the dark. Most workshops suffer from "cave lighting"—one or two dim bulbs in the center of the ceiling that cast shadows exactly where you are trying to work.
Upgrade to high-output LED shop lights. Aim for a "layered" lighting approach:
- Ambient Lighting: Bright overhead lights to fill the room.
- Task Lighting: Dedicated lamps over the workbench and drill press for detail work.
7. The "End of Day" Reset
The best organizational system in the world will fail without a habit to support it. Implement a 10-minute reset at the end of every work session. Put the tools back in their cleats, sweep the floor, and clear the workbench. Starting your next project in a clean, organized space is the best way to maintain momentum.
The Bottom Line
Organizing a workshop isn't a one-time chore; it’s an evolution. As your skills grow and your tool collection expands, your shop should change with you. By focusing on zones, vertical storage, and smart lighting, you transform your workshop from a storage unit into a precision instrument.